
Requirements #
Before installing, confirm your site meets the minimum requirements:
- WordPress 6.0 or higher
- PHP 8.0 or higher
- A self-hosted WordPress site (WordPress.com hosted sites are not supported)
You can check your PHP version in WordPress Admin → Tools → Site Health → Info → Server.
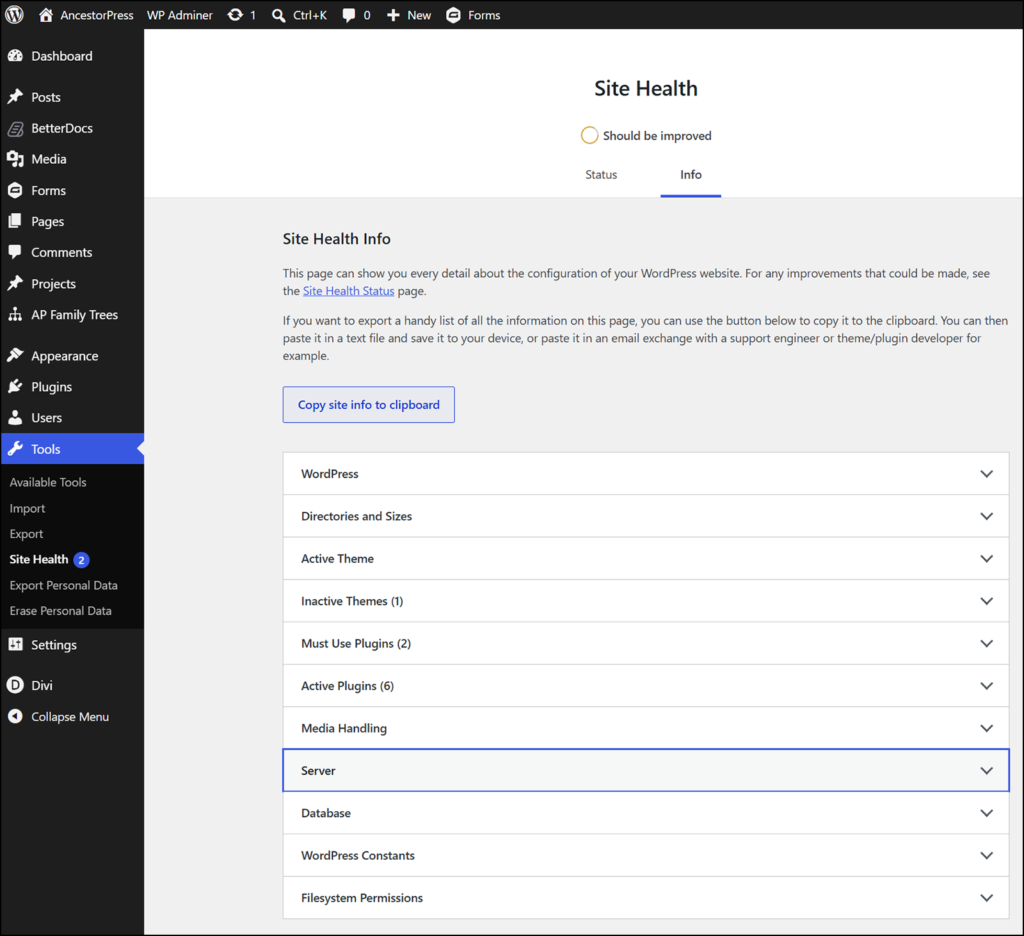
📸 SCREENSHOT: Tools → Site Health → Info panel showing the PHP Version field
Installing from WordPress.org #
- In your WordPress admin, go to Plugins → Add New Plugin
- Search for AP Family Trees
- Click Install Now on the AncestorPress Family Trees result
- Click Activate
After activation #
Once activated, AP Family Trees appears in the left admin sidebar. Click it to expand the menu. You should see:
- Lineages
- All Members
- Family Groups
- All Charts
- Migration Tools
- Options
- Custom fields (Pro Plus version)
- Account
- Contact Us
- Pricing
If the menu does not appear after activation, go to Settings → Permalinks and click Save Changes without changing anything. This refreshes WordPress's URL rules and resolves most post-activation display issues.
Activating your licence (paid plans) #
If you have purchased a Personal or Pro plan, activate your licence to unlock paid features.
- Go to AP Family Trees → Account
- Enter your licence key in the field provided or click 'Sync Licence'
- Alternatively go to the Installed Plugins management page and Change Licence or Upgrade from there.
Your licence key is in the purchase confirmation email from Freemius. You can also retrieve it by logging in at ancestorpress.com/account.
On successful activation the Account screen shows your plan name, expiry date, and the number of sites the licence covers.